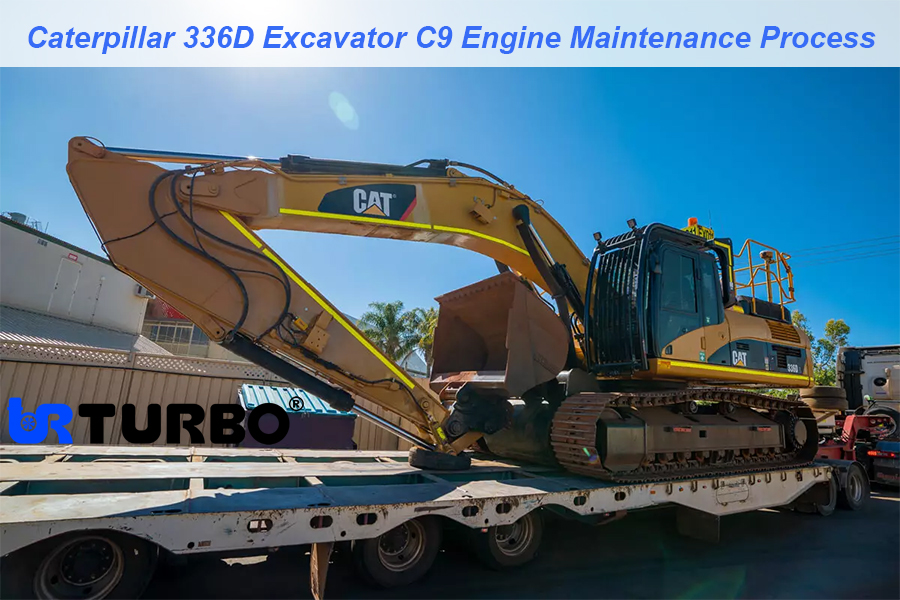
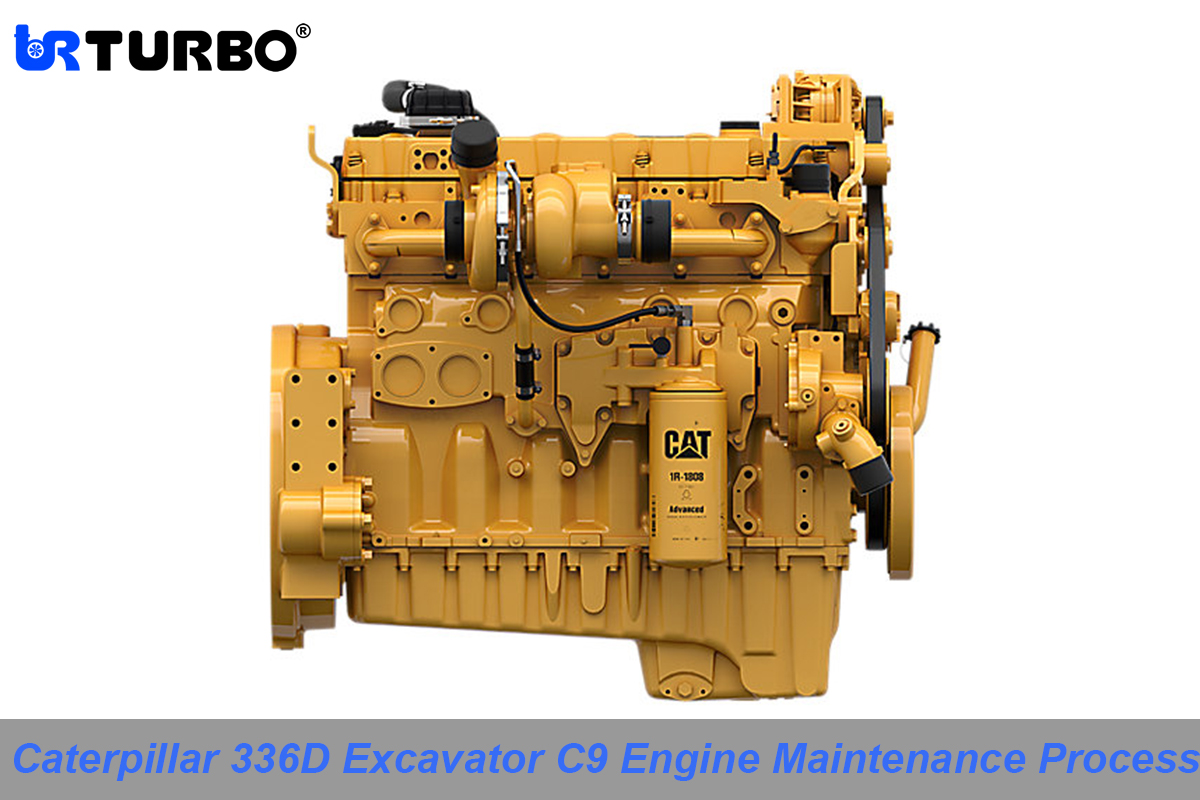
Caterpillar 336D Excavator C9 Engine Maintenance Process
The installation process and maintenance records of the CATERPILLAR C9 engine are provided by the Kaka Power Maintenance Department and recorded by on-site personnel. This installation method of the CAT C9 engine can be used as an experience reference.
Tools/Materials, Accessories
Prepare maintenance tools in advance, such as torque wrenches, feeler gauges, special tools for engine maintenance, micrometers, lubricating oil, cleaning gasoline, air pumps, spray guns and common maintenance tools.
- Disassemble the engine assembly and carefully classify the C9 engine assembly parts to prevent Caterpillar accessories from being lost and to facilitate subsequent assembly.
- Clean all parts of the engine, including the cylinder block, cylinder head, oil pan, crankshaft and other parts, as well as the external parts of the engine, screws, etc. First, clean the external dirt, use kerosene or other solvents, brushes, etc. to clean, then use a high-pressure air gun with gasoline to flush, to ensure that all parts of the engine are clean and tidy, without impurities. This step is crucial. If the repaired Caterpillar engine contains too much impurities, it will increase the wear of the engine.
- Check which parts of the C9 engine need to be repaired or replaced, and then prepare high-quality replacement parts.
- Clean up the maintenance site, prepare maintenance tools and Caterpillar C9 engine maintenance data
- Prepare the lubricants required for maintenance, such as Caterpillar special oil, butter, etc.
- The above steps are preparations. After completing the above steps, maintenance personnel can officially repair and assemble the Caterpillar C9 engine.
- 1. Install the oil spray nozzle on the cleaned cylinder block. This nozzle is mainly used to spray lubricating oil on the piston. During installation, pay attention to the nozzle position and tighten the screws.
- 2. Install the lower part of the crankshaft bearing, and apply engine oil to the bearing part. This installation uses STD standard crankshaft bearings. All connecting rod bearings are replaced with new ones, as the old bearings have been worn to varying degrees.
- 3. Apply grease to the thrust bearing and install it to the cylinder block bearing seat. CATERPILLAR C9 has two thrust bearings. Replace with a new thrust bearing.
- 4. Use an aerial crane to lift the crankshaft. The crankshaft needs to be coated with engine oil to facilitate the subsequent installation and rotation of the crankshaft.
- 5. Install the crankshaft bearing on the crankshaft bearing seat, apply engine oil, install it to the cylinder block, and fix the crankshaft. The screws of the crankshaft bearing seat should be tightened one by one from the center to the sides. The bearing seat screws should be tightened in sequence with a force of 5N each time. The last tightening should be between 25 and 30N. Since the engine is only repaired for the first time, the bearing seat screws have not reached their service life, so they do not need to be replaced. After installation, turn the crankshaft by hand to feel the flexibility of the crankshaft.
- 6. Install the C9 engine cylinder part, which is the main replacement part of the CATERPILLAR C9 engine maintenance.
- 7. Take out the cylinder liner water-blocking rubber ring from the engine overhaul kit and install it into the cylinder liner. Apply a small amount of lubricating oil on the outer wall of the cylinder liner and use professional tools to press the cylinder liner into the cylinder body.
- 8. Install the piston into the cast steel head of the piston. Pay attention to the opening position and orientation of the piston ring. Measure the piston ring clearance in conjunction with the cylinder sleeve, which fully complies with the C9 parameters.
- 9. Assemble the piston-connecting rod assembly, combine the cast steel piston head with the aluminum piston skirt, and assemble the connecting rod and piston parts through the piston pin, snap ring, and connecting rod copper sleeve. Install the connecting rod bearing into the connecting rod, and the connecting rod bearing adopts the STD standard connecting rod bearing.
- 10. Use professional tools to install the piston-connecting rod assembly into the cylinder body. When installing, be sure to pay attention to the corresponding position of each piston-connecting rod assembly. The connecting rod part is marked. The piston ring opening position should not be opened to the same position. Each opening position should be staggered by 120°. The CATERPILLAR C9 engine connecting rod adopts the most advanced connecting rod cracking technology, and the docking surface presents irregular bite.
- 11. Tighten the connecting rod screws. The connecting rod screws should be tightened in order from the middle to both sides. The connecting rod screws should be installed in sequence with a force of 5N each time. The last reinforcement should be between 25 and 30N.
- 12. Install the valve support (top cup). The CATERPILLAR C9 engine top cup has a clip, so make sure it is tightened during installation.
- 13. Use professional tools to install the crankshaft front oil seal. Be sure to use professional tools and cooperate with personnel to install it. The crankshaft front oil seal is a common part of oil leakage.
- 14. Install the bridge teeth in the front part of the cylinder block to match the crankshaft teeth. Pay attention to the matching of the bridge teeth and the crankshaft teeth. There are dots on the two teeth and the bridge teeth have two dots. Pay attention to the matching of the crankshaft teeth and the bridge teeth.
- 15. Install the gearbox. Here you should take out the gearbox gasket from the C9 overhaul kit and apply sealant to prevent oil leakage here.
- 16. Install the camshaft and install the camshaft lock plate under the camshaft teeth. The camshaft teeth should match the remaining dot of the bridge teeth, which is also a concave-convex fit.
- 17. Install the camshaft gear cover and use the camshaft gear cover gasket and sealant to enhance its sealing performance.
- 18. Install the gearbox cover plug with sealing gasket and sealant.
- 19. Use professional tools to install the crankshaft rear oil seal. Be sure to use professional tools and cooperate with personnel for installation. The crankshaft rear oil seal is a common part of oil leakage.
- 20. Install the flywheel housing, apply sealant between the flywheel housing and the cylinder body, insert the flywheel housing locating pin, and tighten the flywheel housing screws in a diagonal reinforcement order, and tighten from 5N to 10N.
- 21. CATERPILLAR C9 flywheel installation, a total of 8 screws, tighten the flywheel screws in a diagonal reinforcement order, follow the 5N force to tighten to 20~25N force. Tighten the screws to prevent the crankshaft from rotating.
- 22. Install the oil radiator assembly. During installation, pay attention to the metal gasket between the oil cooling core and the oil cooling cover, and apply sealant.
- 23. Install the crankcase breather, also called the lower exhaust. When installing, pay attention to the sealing gasket and apply sealant.
- 24. Install the oil pump at the bottom of the engine block. After dismantling by Kaka Power maintenance technicians, the old oil pump was found to be severely worn, so it was replaced with a new CATERPILLAR oil pump.
- 25. Take out the oil pan gasket from the overhaul kit and apply sealant evenly. There are many screws on the oil pan, so when installing it, pay attention to tighten the screws diagonally with a force of 5N.
- 26. First, use tools to install the valve seat and valve guide for the cylinder head. Before installation, check whether the contact surface between the valve and the valve seat meets the requirements.
- 27. Install the valves. The C9 engine has dual inlet and dual exhaust, and the valves are also large for inlet and small for exhaust. Install the valve oil seal at the tail of the valve and take out the valve oil seal from the overhaul kit.
- 28. Use special tools to press-fit the valve spring, valve spring seat, and valve lock.
- 29. Install the cylinder head, take out the cylinder gasket from the overhaul kit, and put it on the contact surface between the cylinder block and the cylinder head. The cylinder head and the cylinder block are equipped with locating pins. Just align the locating pins and install them. The cylinder head screws should be tightened in the order from the middle to both sides. The tightening force is increased by 5N each time until the tightening force of 28N is reached.
- 30. Install the CATERPILLAR C9 engine injector.
- 31. Install the engine tappet, also called the tappet.
- 32. Install the rocker arm assembly and the spring presser.
- 33. Adjust the timing gear.
- 34. Use a feeler gauge to adjust the engine valve clearance. The CATERPILLAR C9 valve clearance is 0.38mm.
The installation of the engine is basically finished here. Finally, we install the valve cover, valve cover, peripheral starter motor, generator, engine high-pressure oil pump, turbocharger, exhaust branch pipe, air intake, etc. in turn to complete the installation of the entire engine.
- When repairing and installing the engine, you must pay attention to cleanliness. Any dust and unclean places will increase the internal wear of the engine. Remember!
- After the engine is repaired and installed, it needs to be run-in for about 50 hours.
- The running-in needs to be gradual, starting from idling and slowly increasing the load.
- After 50 hours of running-in, the engine oil, three filters and other maintenance accessories need to be replaced.